


Mastering exposure in digital photography
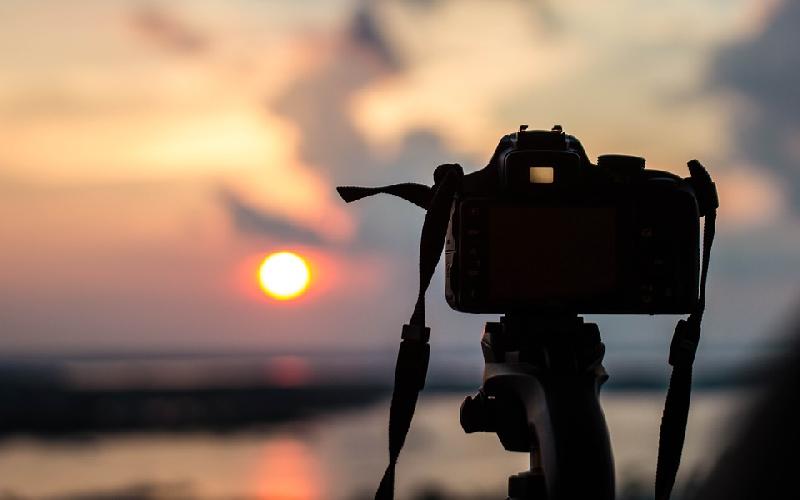
Image Source - https://pixabay.com/p-1067853/?no_redirect
In this era of digital photography, almost everyone has a camera, be it a fancy dSLR or a simple smartphone shooter. But technology can only do so much, and we should learn to use its benefits for ourselves. In photography, we therefore have exposure, mastering which will make our shots infinitely better. Here is the first article of the series, as a part of Tech Tonics tech tips.
Ok, lets get to it. You've recently bought a fancy dSLR, or else a high-end bridge camera with dSLR-like functionalities (like I do). However, one thing is pretty certain. Neither a high-end bridge, nor a dSLR is meant for a point&shoot type activity. While your picture quality will still be nicer with a high-end camera compared to that of a simple point&shoot if you apply the same working principle (that's simple, just aim and shoot!), the ocean of possibilities that lurks deep within your camera will stay undiscovered, unseen and unventured forever. So, it is important to understand the key elements of photography before going straightaway and purchasing a high-end camera.
Ok, so first of all, we have the question, why is it actually essential to learn the art of photography? Well, the answer is simple as well, photography is both an art and a science, combined and blended to give you one of the best possible ways of expressing yourself through your shots.
Moments are flowing away and can not be recovered, and it is almost impossible to re-create a 'perfect' situatioopn that you might have experienced somewhere, at some point of time. For these reasons, we have photography, to keep those moments 'frozen', and thus 'alive' for a long time. Without more fuss, lets get straight to exposure.
Before understanding what exposure actually is, one thing is to be clarified. No matter what your device is, what matters more is how well you use it. The actual process of photography begins in your head, and your eyes serve as the first and foremost camera. It doesn't matter how costly your camera is, you can create versatile and critically acclaimed images with any passable device.
Why is exposure important? Ok, so what is exposure? Basically, exposure is the total amount of light that is captured by your camera while making an image. Confused? Don't be. Photography is all about light. What your camera essentially does is, it captures, records and then processes the light that is coming from/off different subjects. Back to basic physics, we know that there are objects that was luminous, such as the sun, stars and a candle-flame. And other objects are non-luminous, which don't have any light of their own. So, they just reflect the light falling on them from other luminous sources. Examples, the moon, our body and the landscape you plan to shoot. So, a photographer essentially 'paints with light'.
Exposure is this amount of light that you allow your camera to record and process. Allow too much light to enter, and your image will be overexposed (or blown out). Allow too less light, and you'll get a very dark, underexposed one. These are the two types of exposure. So, to brush up the facts, here are their definitions:
1. Overexposure: It is the phenomenon which takes place when too much light enters the camera, thus ruining your shot and making it appear too white or blown out. The pixels that are overexposed, do not record any detail and only produce a dead white space. Of course you wouldn't like that to happen, would you?
2. Underexposure: It is just the reverse. When your camera captures too less light, your image (or portions of it) appears too dark and blackish. In extreme cases, the pixels simply record a blank, pitch-black space, lacking details.
So, now that we've understood what is exposure, it is important to realize why it is so important for photography.
What determines the exposure? Photography, as I wrote above, is all about lights. Whether you're using natural light or your flash, an incandescent source or just indirect sidelight, it is important for you to get an ideal image befitting your purpose. Always remember, there is no perfect exposure, and there are no hard and fast rules for determining the exposure of any photo. All we have are a few guidelines, helping us decide how to express ourselves freely and fully through our shots.
If you have a camera that supports command-dial and other typical features of a dSLR (like my NIkon Coolpix P510), then you can actually have greater control over the entire image-making process by controlling and tinkering with the exposure settings. There are roughly three different settings or factors that affect the exposure directly. And these are:
Shutter speed is a measure of the amount of time your lens 'opens up', to capture light and details from the surroundings. It is essentially the speed of your shutter, and can have a great impact on your photographic choices. Shutter speed is usually marked by 1/100, 1/125, 1/500 etc. Here, greater the denominator, greater is your shutter's speed. For example, 1/100 means your shutter will stay open only for one-hundredth of a second. 1/500 is a faster speed, meaning that you're going to exposure your camera to the scene for 1/500th of a second, and so on. Modern cameras support very high shutter speeds, around 1/4000 and so on.
Now, the simple relationship between shutter speed and your exposure is that, greater the shutter speed, less the exposure. It is quite easy to understand. Exposure = the quantity of light entering your camera, and shutter speed = the time duration for which you're allowing your camera to remain 'open' to light. If you choose a slower shutter speed such as 1/10, your lens will stay open for a longer duration, capturing more light. Likewise, if you choose 1/500 as your shutter speed, the total light entering your lens will be small.
Thus, shutter speed is more or less inversely proportional to your exposure. Greater the shutter speed, less the exposure.
Aperture is the measure of your lens's opening. If you allow a greater aperture, the opening of your lens will be larger, thus allowing more light to enter your camera. If you choose a smaller aperture, less light will enter your camera. Aperture is usually indicates and marked by a number such as f/4, f/8 and so on (on Nikon cameras, especially). However, it might be a bit trickier to grasp, since f/4 is actually greater than f/8. These counts are known as f-stops, and a higher f-stop is indicates by a smaller denominator. f/4 is actually like 1/4, and like 1/4 > 1/8, f/4 > f/8.
The relationship between exposure and aperture is pretty clear.
ISO is a measure of your camera's film-sensitivity, or light-sensitivity if you may. ISO stands for International Organization for Standardization. It indicates how sensitive your camera will be to light. ISOs are marked like 100, 200, 400, 800 and so on. My device allows for a maximum of 6400 value. ISO is quite possibly the easiest-to-understand element here. A higher ISO value allows for a greater sensitivity to light. So, ISO 800 will record more light than say, ISO 100. Thus, greater the ISO value, greater the amount of light entering your device, and thus higher the exposure. Usually you'd want to change your ISO setting depending on what type of photo you'd live to have, but basically, here's a guideline:
ISO 100: For normal daylight, outdoors.
ISO 200: Indirect Sunlight, outdoors.
ISO 400: Indoors, at home, with adequate indirect light.
ISO 800: Dimly lit situations, evenings and dawns when less light is available.
ISO 1600: Night-time photography outside, with very less light.
ISO 3200: Extreme cases of lowly lit areas and situations.
ISO 6400: Only to be used with caution, for avoiding motion-blur in lowly lit situations.
These three factors not only affect the exposure, but additionally they also have their own unique effects on your shot. For example, shutter speed controls the amount of motion-blur, while aperture controls the DoF. ISO usually has lesser influence, but it is related to the degree of crispness of your image. A higher ISO makes your shot appear more grainy, and vice versa...
NOTE: In this part, I'll briefly mention the factors and their effects. In later chapters, I'll try to cover them in more detail.
Whenever you're shooting something that's moving rather fast, be sure to choose a higher shutter-speed. A higher shutter-speed value allows us to 'resolve' motion-blur, i.e even fast-moving objects appear still and without blur. On the other hand, if you chooce a less shutter-speed instead, you'll have greater exposure and also motion-blur.
Depth of Field is an important concept in photography, and can actually do wonders. A higher aperture (f/3, f/4 etc) has a shallower depth of field, i.e it captures the details of the subject in focus, but loses details of the background or anything else not in focus. This also gives you a rough idea of what DoF is. Likewise, a smaller aperture (f/7, f/8 etc) helps you get more detail in focus and background. Essentially, this keeps more of your background in focus.
A higher ISO can help you compensate for your exposure loss in lowly lit situations, or when you would like to have a very high shutter-speed and extended DoF (smaller aperture value). However, ISO is also proportional to the degree of graininess or digital noise in your photo. S, it is to be handled with care.

Reliance Jio is all set to launch its 4G services in all the 22 circles of India. It is expected to bring down data tariffs drastically down.
Do you know how to create Linux bootable USB drive on Windows 10? In this software tutorial, you are going to learn to make bootable USB for Linux operating system..