


Make your internet faster in these easy to follow steps
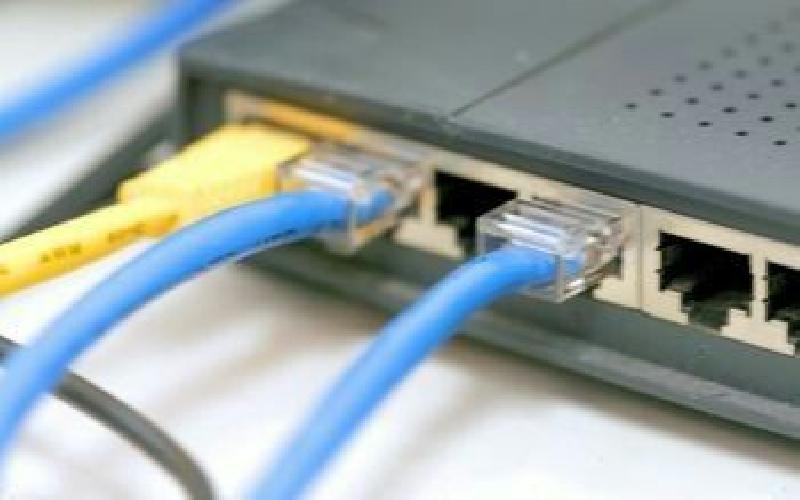
Image Source - http://pinterest.com/pin/148055906472814959/?source_app=android
This article discusses some of the reasons why the speed of internet gets slower and provides effective ways to increase the speed.
Recently I have wrote an article on how are you going to make your internet faster for about 20% faster in Windows XP now is the time for me to write an article about Windows 7. Since windows 7 have been here for about 2 years now I am sure there are ample users of Windows 7 now. And we are now witnessing the beginning of the end of windows 7 since Microsoft released windows 8 this fall of 2012.
This article will show on how you are going to do it. There will be no need for software for you to achieve this. You go to Google then search on how are you going to make your internet faster and it will give you bunches of software claiming that they will make your internet faster. But that software is mostly not free.
You got to buy its license for you to be able to use it.
So here we go. All you need is of course Windows 7. This tutorial is ONLY AVAILABLE for the Professional, Ultimate and Enterprise version of Windows 7. This is not applicable for the version of Starter, Home Basic, and Home Premium since group policy editor is not installed on them. NOTE: Installing group policy editor coming from the internet is not a good practice. Install at your own risk.
Steps on how to do it: Go to Start (Windows Orb) then at the “search” portion located directly above the start orb after you clicked it type run then windows will show programs with the filename run in it. Just click “Run” and Run window will appear. Then at the “Open” portion type “gpedit.msc” then press enter. After that the local group policy window will appear.
At the local group policy editor window under Local Computer Policy click the triangle just beside “Administrative Templates”. And under administrative templates, again click the triangle beside
“network”. And under network click the triangle just beside “QoS Packet Scheduler” after you clicked the triangle beside QoS Packet Scheduler focus your attention at the right portion of the window.
At the right corner of the screen look for the “Limit reservable bandwidth” after if you see it, just double click it then you’ll be brought to the window of limit reservable bandwidth. Again focus your attention at the upper left corner of the window then click “Enabled” after you clicked enabled look at the center left corner of the screen just below Options and just above the blank portion of the window you will notice that the value of Bandwidth limit (%) becomes 20.
Additional information: “Not configured” means that Windows 7 is still reserving 20% bandwidth for system use in background services like windows update et cetera, et cetera. Meaning leaving this setting not configured only gives you 80% of the whole bandwidth of the computer for your use for internet connection. That’s a waste right? Why not enjoy 100% of your total computer bandwidth?
So here we go, what are you going to do is just change 20 to 0 (zero) then click Ok. Zero means windows will not going to reserve any bandwidth for background services. Presto, you got your 100% bandwidth back for your use in your internet surfing. Also choosing the “Disabled” setting will make windows use its default setting of reserving 20% of bandwidth for background services. Please tell your friends about this good news. Let’s make internet a more free world.

Cause of android hang up and can't send text even though you have a airtime load and your cell service is okay. .
Just by installing s few apps, you can turn your phone into a multipurpose device. Scroll down to discover the best apps for your Android buddy..
Hi guys! Are you being disturbed by someone ( may be stranger or may be your closed friend, you do not want to chat with him/her, but do not want to ignore also ) while you are chatting with your special one? Here I will show the way to remain Offline for specific friend(s) in Facebook chat..